Web Schema offers a way to markup site content that is recognised by search engines. It’s currently only developed for WordPress but will look into supporting Drupal in the future. The plugin is still in beta and can be downloaded from GitHub. I’ll be detailing how to use the plugin below.
HOW TO INSTALL
To install the plugin just move the webschema folder to your plugin directory and activate it in the admin interface. Once that is done, you can access the plugin configuration page in the Settings menu. On the configuration page, the schema data needs to be uploaded to the database by clicking on the Update Records button.
HOW TO USE
Before you start marking up your content, you might need to read up on using microdata. In my example, I will be using the same content taken from the schema.org example so you can get a better understanding of how this plugin works.

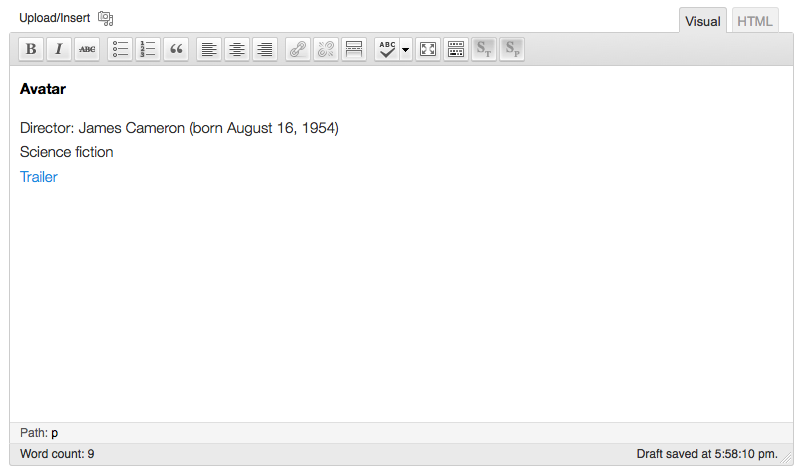
Original content
There will be an instance when you’ll need to select the content parent schema. You can do this by selecting a parent type from the Web Schema¬†section. This makes sure that any markup in the content is related to the schema selected. I’ve selected the type Movie as my the content is about a movie. You’ll notice the content in the editor has been highlighted. Highlighting has been added to make it easier to identify what schema has been wrapped around a content. All types are highlighted – red, properties – blue and nested type property – purple. Also, a tooltip has been added when you move your mouse over a highlighted schema, which shows more information about the schema type or property.
To mark up ¬†a specific content, you’ll need to make a selection on the WYSIWYG editor. When you make a selection, both the schema type and property buttons will be activated. As a common workflow, you’ll need to add a type first before adding a property.

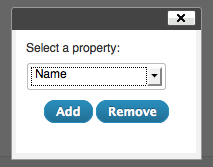
Select a property
As a parent type has already been added I’ll just go ahead and add a property on the title Avatar. Clicking on the property button will open up an overlay with a list of schema properties to choose from. In my case, I have¬†chosen¬†the property Name. I’ll go ahead and go through the example and add all properties to the whole content.
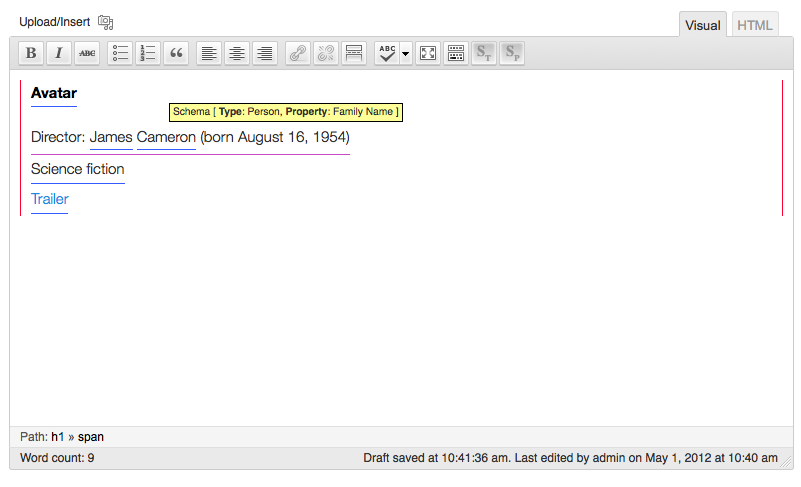
Once you have marked-up all your initial properties, we can move forward to a more complex scenario of adding a nested type property. We will start by modifying the Director property. Select James Cameron and remove the property assigned to it. Then select Director: James Cameron (born August 16, 1954) and assign the Director property with a subtype Person (creates a nested type property). Next, we select James and assign the property Name to it. Then select Cameron and assign the property Family Name to it.

Marked up content
The final content should look like the one in the image above. To view the content structure, click on the HTML tab. You can experiment and play around by adding other types and properties. As this is still in beta, there might be some bugs and issues. If you spot any please post an issue on GitHub and I’ll try and get it resolved as soon as possible.

